
Wall Upholstery 101, choose a method
When it comes to wall upholstery, there is only two options. You either ask a professional to perform the installation or decide to do it yourself. Both options could be overwhelming if a person does not have some basics. Finding a skilled wall upholsterer could be a challenge and getting a good method for a DIY fabric wall project is another.

I have read a few blog posts’ on DIY fabric wall project and watch some online videos on this subject. The good news is a person needs basic upholstery skills, patience, discipline and like working with fabric.
In some case, I saw people using glue to apply a textile directly on a wall. Well, this method is not called wall upholstery. Nor stapling a pattern fabric on a separate panel or board and then hang it on the wall. I would name this wall Art.
A third type of installation is fitting a fabric over a layer a Dacron and stapling around the perimeter of the room. Of course, additional braid is required for hiding the thousands of staples. Actually this option is wall upholstery as long as no glue is involved in the process.
Nevertheless something is missing with that idea. For instance, the lack of preparation is an important step like adding a small frame. A frame that is created by a slat, a strip fixed to the wall before the fabric is install on the surface. I will explain further later.
What type of fabric installation?
I have nothing against any of these approaches below. All 3 have a completely different look. So if you decide to go with one of them, you will need precision, patience and strength. And time of course! It may take several attempts and several days to complete your DIY fabric wall project but you can do it.
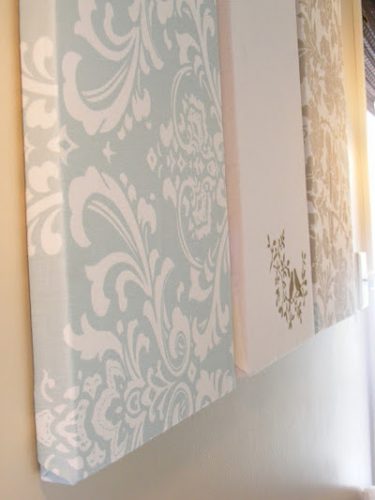
A basic installation would be to wrap the fabric on a frame. Because your fabric has some type of design, pattern and colors, it hangs like a canvas or a painting. With no upholstery skills a person can build a frame then stretch a fabric over it. The idea of placing them in a series is interesting.
Here is a thought. Instead of getting an upholstery fabric with a motif, get a plain canvas and paint on it. I am sure someone at home will be happy to help!
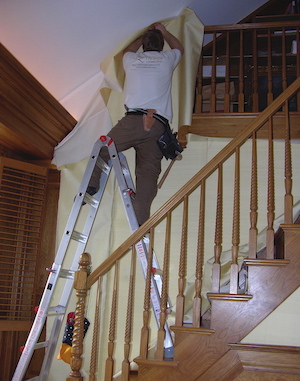
Now the second option is a little delicate because of the paste that goes on the wall. The same idea as wallpaper but the bonus is the fabric won’t tear. The trick is keeping air bubbles away. If you have manage wallpaper with motives then there are no reason for failure. Remember no to over stretch the textile.
Conclusion this is work is a job for a wallpaper installer or for yourself if you are up to it.
Before we take a closer look at the last method that requires basic skills, what if you wish to hire someone?
Hiring a skilled wall upholsterer
Given these points, some of you will decide to go to a professional. So, try getting as much information as possible. In order to guide through THE process, I have written an article on this topic. Laying out questions you should ask before hiring an installer. You can find it at How to choose a wall upholsterer?
An upholster should offer options like with or without decorative trimmings. Also, Does your upholster know that there is another fitting method than stapling the fabric? We have research thoroughly for various products or good fitting system on the web for homes. Most tracks are for commercial use and do have their limitations for residential application. In fact, there is only one which stands out. It is called Clean Edge System. A revolutionary track for residential use as it works with all challenges found in homes.
Ask a professional if he can use that type of fabric system.
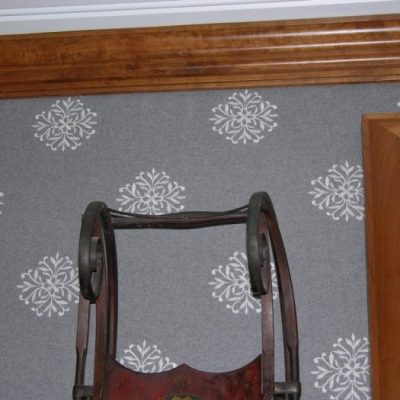
We have a portfolio full of pictures of wall upholstery. They will help you in many ways. Look at the installations and the type of rooms.
Now the last option for someone who wish the job himself.
Stretching upholstery fabric
The question is Can you stretch fabric on walls? Yes, you can. Do you need upholstery skills? It helps because streching fabric is not like working with wallpaper. However as I mention earlier, wall upholstery requires patience, precision and an amount of strength depending on the scale of the project. I am including a few links (words in blue) to help you.
Remember wall upholstery 101 includes for the materials a fabric, some types of padding, and a support to attach the fabric. Plus small fittings, brad nail and staples.
Most important a wall is said upholstered only because it has a layer of padding behind the fabric. Don’t forget!

First and foremost, a fabric should not be stapled directly to the wall but be fixed on some sort of support like a slat. For one thing, if the fabric needs removing away from the wall, you will be very upset with yourself for not having installed any slats.
Wait a minute. Do you really want to pull out all the staples one by one? Think about the time spent doing this. And you will damage so much the sheetrock, plaster everywhere…What a mess!
So what is the solution?
You need to fix a frame where the fabric is stapled to it. It is a little more work but well invested as the walls will also look so much better. Most people take wooden strips which have a few inconveniences. What are they?
DIY fabric wall project with fabric trims
If you wish to go with wood slats then you will need to buy a sheet of wood; ¼ inch plywood. And make strips of 1 to 1 ½ inch wide.
This stage is another project that could be discouraging. Besides, this method requires a table saw. So, let say you decide to go through it which is fine. Then when time comes to install, you will find that your hands could be damaged or even bloody from splitters during the process. Remember the fabric needs to stay clean. Hello!
Finally during the fabric installation, you will have a high chance of pulling fabric threads from the wood. And more observation, wood brakes too.
In all honesty try to keep this experience simple. Instead of working with wood, my advise would be to rule out plywood.
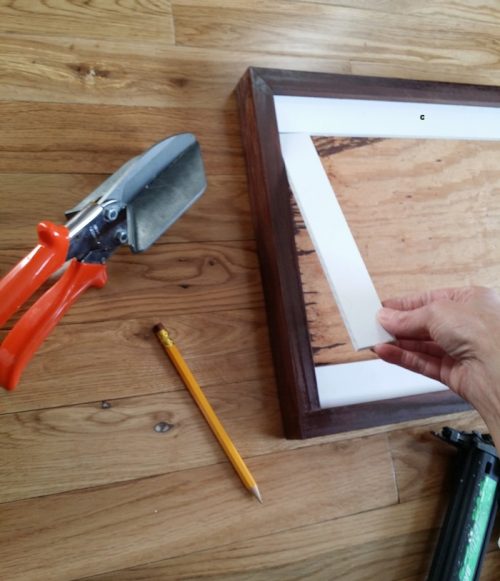
Simply replace wooded strips with another product called CWS or Contour Wall System.
It is a handy method making a faster job. The fabric is fixed on it, trimmed then a flat braid or welt is added for hiding staples.
A clean and quick DIY upholstery
The product comes in strips ready to use. Each length is 94 inch long by ¼” thick. Contour wall system or CWS is a white strip designed especially for wall upholstery. You will not get all problems mentioned above. Each box has 40 lengths, which makes 100 yards. Smaller quantity is available.
In a nutshell:
What you need to do is place and staple this product around the room using ¾ inch staples or brad nails. It is easy to cut CWS (Contour Wall System) with sharp track cutter. You will be able to make small pieces without problem, even cut at 45 degree angle. After installing the strip around the perimeter of the room, by doors and windows, add a layer of padding.
Cut the padding just before the strip so they are both at the same level. Proceed with the fabric installation by stapling the fabric on the slat. Trim the excess fabric, then add the desire decorative fabric trimmings.
In case you choose to add brass or nickel nails instead, it will just fine. Any size works.
Measuring for the fabric
Remove all furniture from the walls. If the room is empty it is even better. Measure each wall; width and height. Disregard the windows.
Remember that most fabrics are 54″ or 48″.
Let’s say that a wall is 130″ wide, you will need 3 widths of fabric for 54″ wide (3 x 54″ = 162″). For a 48″ fabric, count also 3 widths (3 x 48″ = 144″) And so one with the other 3 walls.
If your wall is 98″ tall, add 5 inch extra to each drop of fabric (103″). This means, you have 3 widths x 103″ = 339″ convert in yard after you have added the other walls. Go shopping for fabric and have fun. You may want to add an extra width as a security. You never know what could happen.
Written instruction of full installation
Your supplies.
- Get a ladder, scissor, a pencil, a tape measure.
- Get a compressor, a staple gun or brad nailer. Staples or brad nails ¾” long
- Buy some tracks Contour wall system, a track cutter
- Purchase some padding ¼ to ½” thick
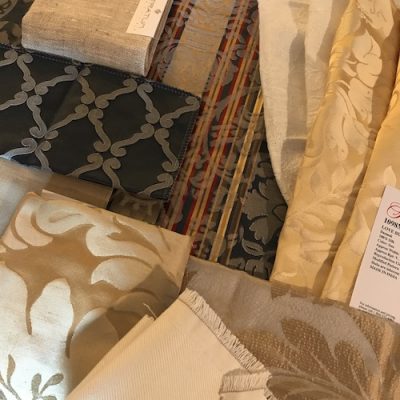
- Find the right fabric
- Sewing machine to seam up the width of fabric.
Step one is the strip.
Take a length of Contour wall system (CWS) and a brad nailer, start by the ceiling at the top right or left corner.
Place a strip against the ceiling or crown molding and fix. Take another length until you reach the other corner.
Use the track cutter for cutting the strip to the correct length.
Step two.
Do the same at the base of your walls or chair rail.
Step three.
Do the vertical strips. At each step: measure, mark your slat, cut and attach the CWS with brad nails. Repeat all around the room. Don’t forget to put strips by the window and door. Fit them against the moldings.

Take a break from your job!
If you are doing a large project, you may need a break at this point.
Then, clean your space and get ready for the next step.
Step four.
Get your padding. Place it just below the track at the top and use your stapler. Trim if too long.
Step five is the fabric.
TOP. Place fabric over the wall with a little extra all around. (Leave more extra cloth at the bottom) Start at the top center with one staple. Hold and stretch very slightly from center to the right, staples on the CWS until you reach the corner. Repeat from the center left to the other corner.
BOTTOM. Go to the bottom. Let the fabric hang naturally and stretch it vertically, staple in the center. Work to the right and to the left. Make sure keep straight.
SIDES. For the sides, pull slightly the cloth and put one staple at the center right and one the left side. Look back to see it is all leveled. Start stapling the sides. Trim the excess fabric all around.
Step six.
Finally, apply the decorative trimmings of your choice with glue. This operation will hide all staples Any size works. If a nail is not at the correct place, pull it out and reposition. Contour wall system does not split open, which is a great bonus.
I believe you have now all elements for installing fabric wall upholstery 101.
Conclusion on a DIY upholstery project
I have review 3 ways for having a fabric on a wall.
The most basic upholstery skill wrap a fabric on a panel. Stretch a fabric on a frame or a board. It is up to you to add padding or not.
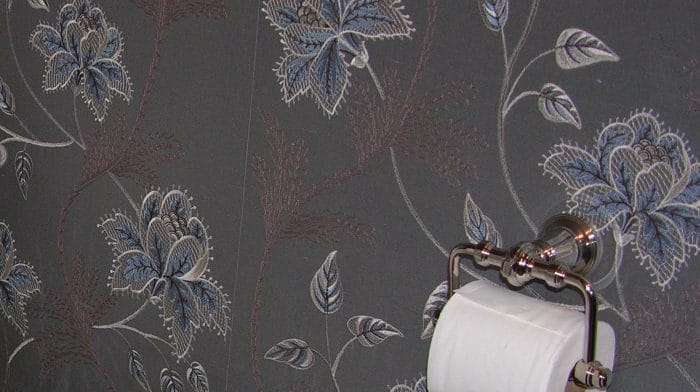
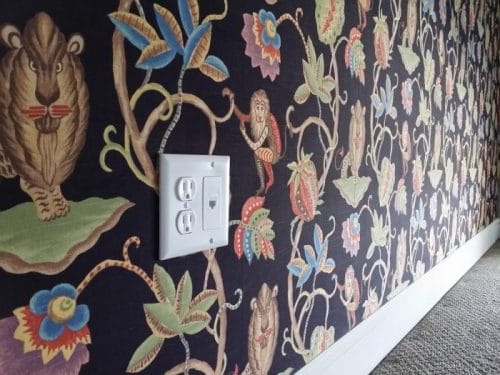
Next is a glue job. A fabric stays permanently glued to a wall and it is a flat solution like wallpaper. Try this on an accent wall with a pattern, it looks good when a fabric has a design.
Then, there is the wall upholstery option where you will use a ready made strip fitted around the room, a padding and a fabric.
But there is still another way, hiring a skilled wall upholsterer.